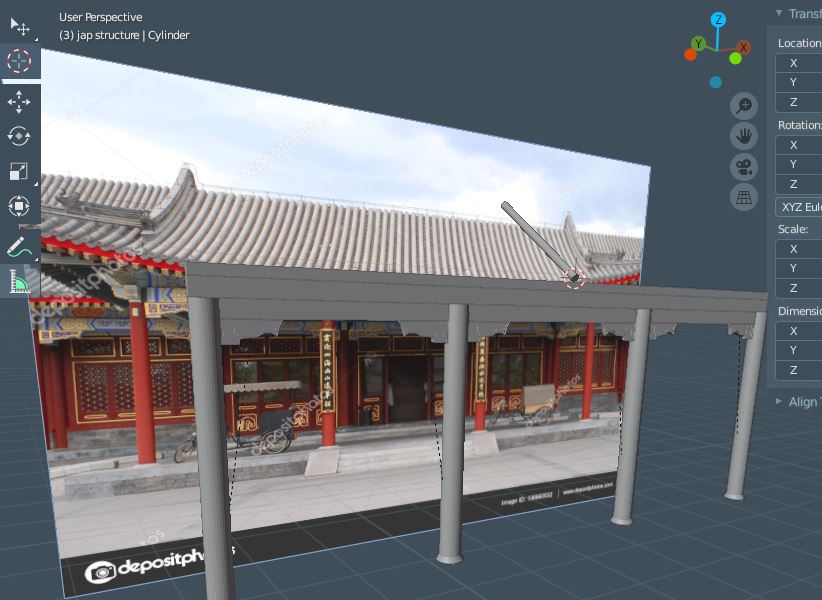
1) Some UV mapping
2) Some chosen textures, according to the situation.
3) Testing the trees. Also, dealing with 'leafs textures' or
something similar (low poly trees imported from 3d warehouse).
( I'm also using botaniq's lite version, but in this case, I could not find the trees / flowers I really wanted. )
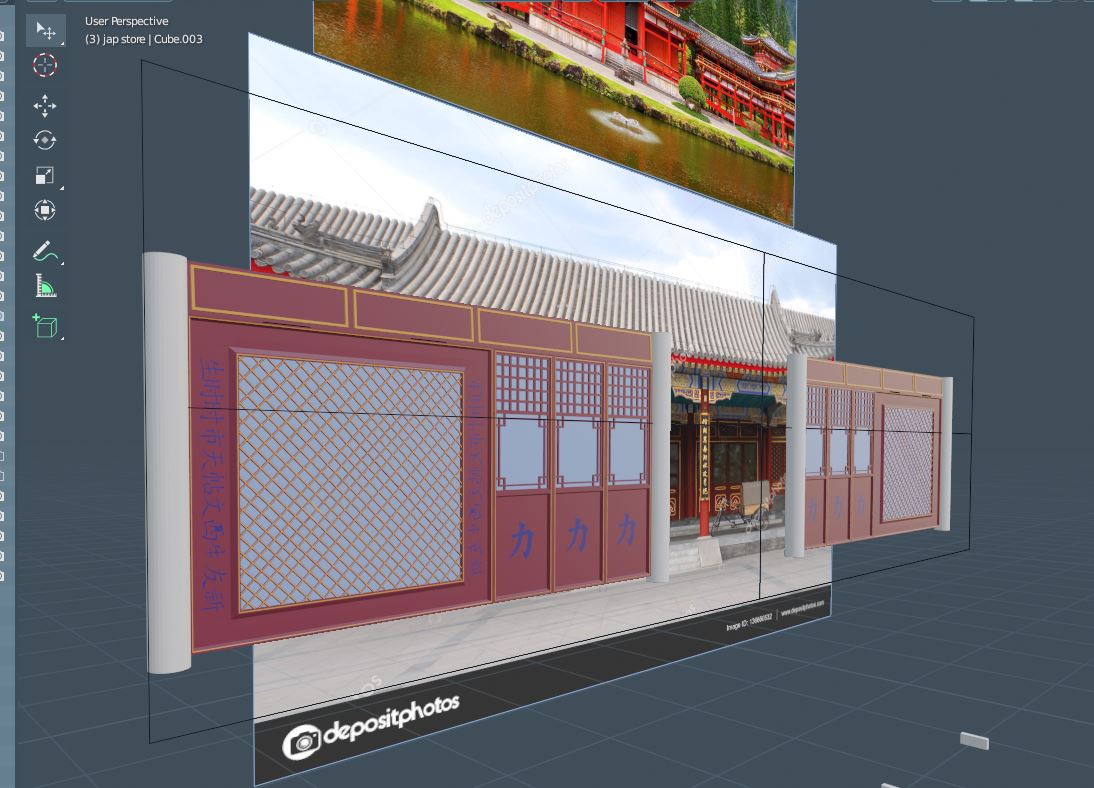
Now, changing the basic colors into materials.
Finished adding the flower and grass stuff.
Now, adding objects such as trash can, park bench, tactile
paving, 'monuments'... The "trick" to make a path so the
tactile paving can follow is:
A) Draw the path using a curve.
B) Set curve name to "Follow me"
C) Set its origin --> "origin to geometry"
C) Create a plane.
D) rename it to "follow plane"
E) Set "origin to geometry"
Still, with the plane selected:
F) add an array modifier. The count will be different
according to your curve's length.
G) add a curve modifier, set curve object to "follow me"
H) Goto object properties, enable face instancing.
later you can disable the show instance settings.
I) This is intended to create a curve modifier WITHOUT deforming
the object. First, see if your number of array objects is okay, then...
(can you see the plane being repeated? at this point I think you
already know how to use the array modifier, I won't go into details)
J) create a tactile paving "mesh".
K) again, set "origin to geometry"
L) Select the "follow me" path.
M) Cursor to selected
N) Select your tactile paving mesh
O) Selection to cursor
Now follow this order, it's important:
P) Select none
Q) Select your tactile paving mesh
R) Then, select the follow plane mesh
S) Set parent to object.
T) If done right, you'll see something strange as this:
U) you can disable the instancing faces
in viewport / render like I said before.
V) It works? Yes. It's boring? Yes. But works.

General overview... You can bet I used a lot of curves
and modifiers here and there..
Where's the tactile paving? Shit...
4) One or another new thing I learned here,
I'm just showing the progress...
A more detailed "1-2-3" about another scenery created
that I really liked can be seen here.